|
After a crazy busy month I am ready to get back to doing what I love! My summer classes have finally come to an end and the fall semester is about to begin. A new semester means it's time to start a new Bullet Journal. Moving into a new Bullet Journal seems like an overwhelming task at first mostly because my Bullet Journal never leaves my side. Then, all of a sudden it runs out of pages on me. If moving into a new Bullet Journal seems like a daunting task-read on to see how I moved into my new Bullet Journal.
Step 1. Sticky note all open collections and pages that you want to have in your new Bullet Journal.
I don't know about you but I am constantly starting new collections or new trackers and I hate to see them end just because I'm moving into a new journal. It's hard to choose which ones I want to pack up and bring along, but the choice is yours.
Pictured below is the part of my future log that needs to be transferred into my new Bullet Journal and a sticky not marking the new location of my future log. 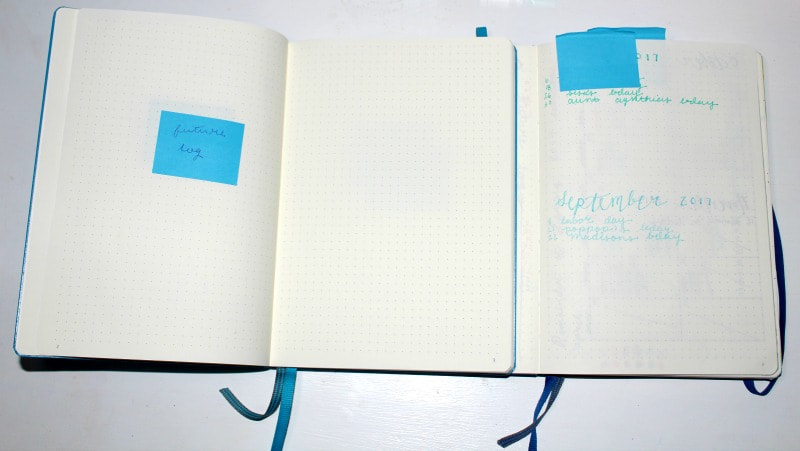
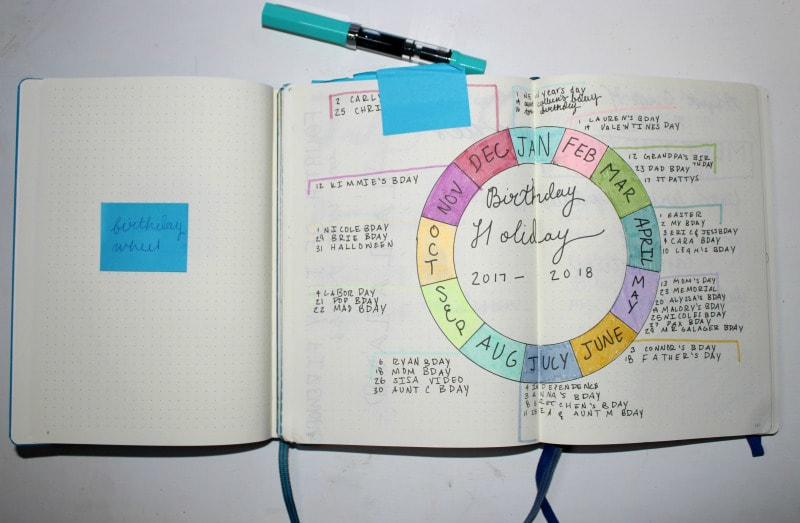
Pictured below is the new location of my birthday-holiday wheel.
Step 2. I always start a new Bullet Journal with a theme quote.
It sets the tone for what is coming up in my life or something that makes me happy. It gives me a place to start in the new journal and it gets the first page nerves out of the way. I always scroll through Pinterest to find the best quotes and ideas for quote pages. Pictured below is my new Bullet Journal theme quote. 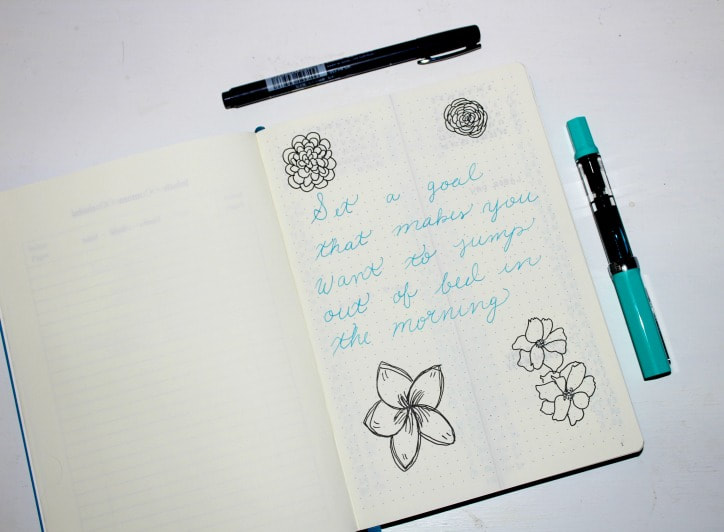
Step 3. Create your future log spread.
The future log is one of the most important spreads in my Bullet Journal. It gives me a place to quickly jot down upcoming events or important dates. I took a different route this time after reading a great post by my good friend Megan (aka pageflutter) check out her how to HERE! Pictured below is my new Bullet Journal future log. 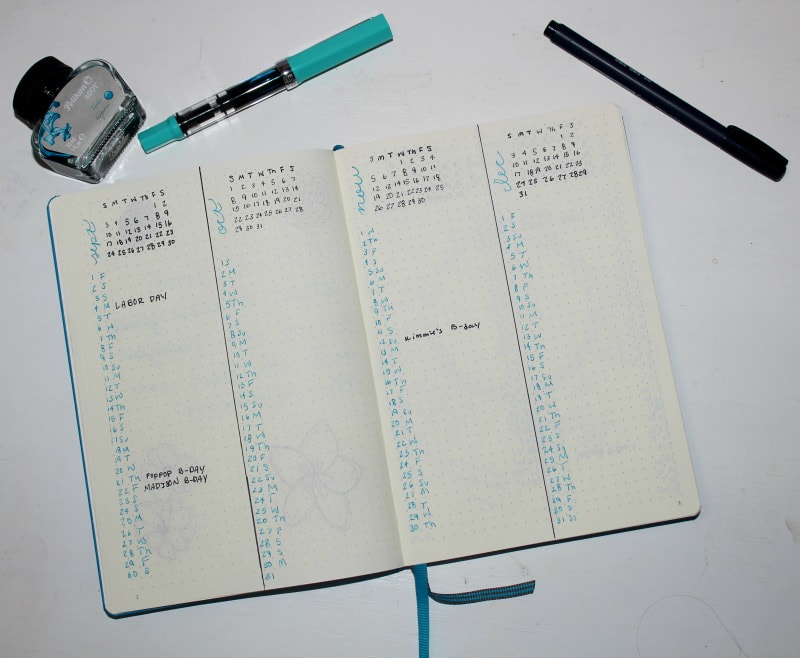
Step 4. Transfer all of your open collections into your new Bullet Journal.
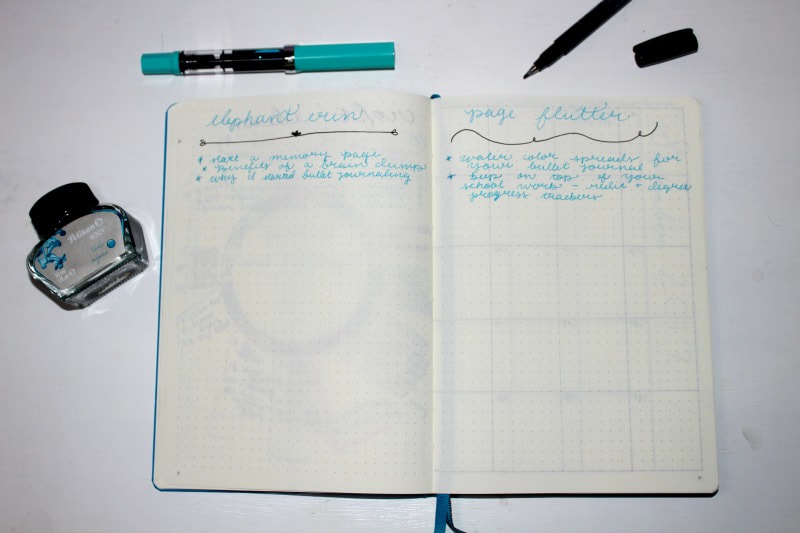
This is the fun part of moving into a new Bullet Journal, actually it's all fun. Recreating your open collections gives you the chance to make them exactly how you want them and modify them if need by. Pictured below are my open collections that I transferred into my new Bullet Journal. 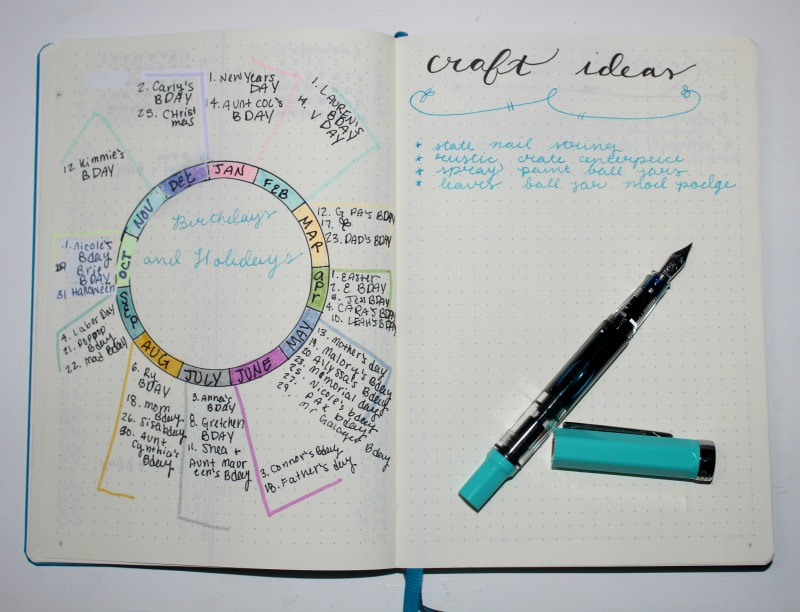
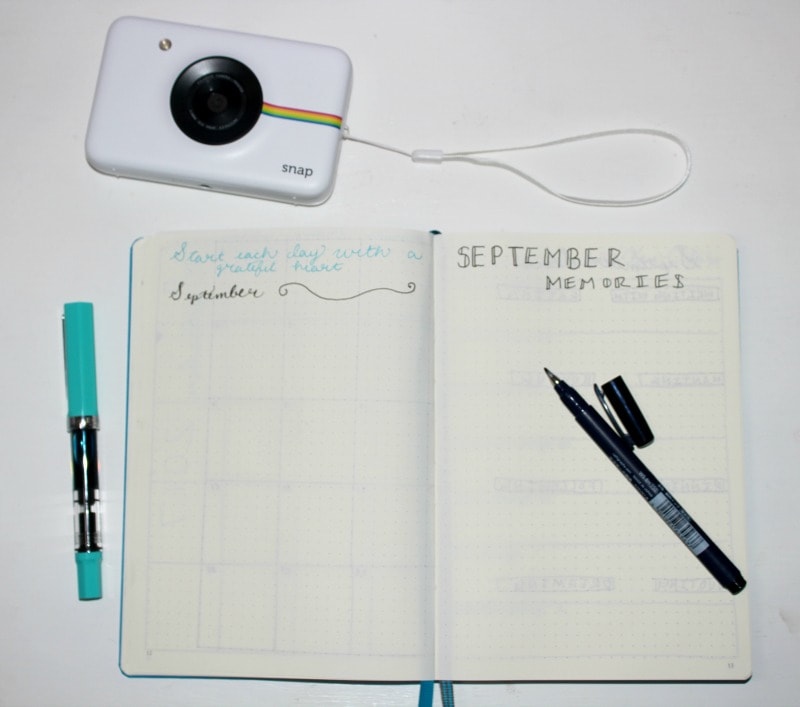
Step 5. Create the up and coming month's monthly spread.
September is quickly approaching and classes already start on Monday. It's best to be ahead and be prepared for what's ahead. Pictured below are the spreads I make monthly. Monthly spread, gratitude log, and memories page. 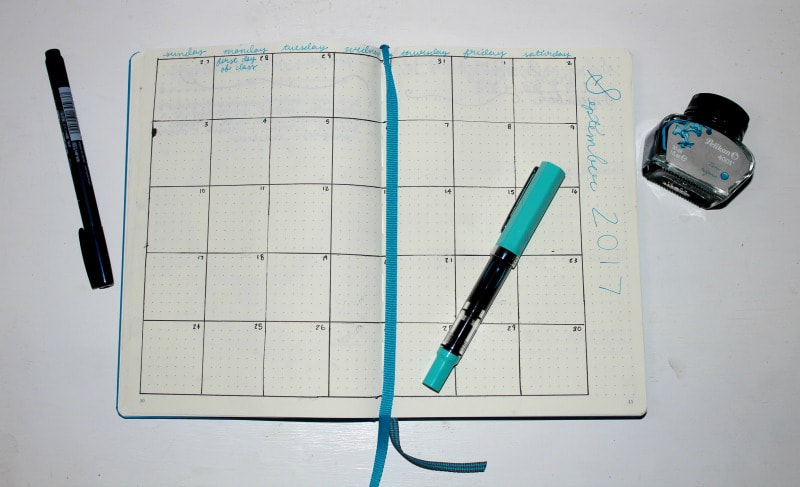
Step 6. The last and final stage of moving into your new Bullet Journal is creating your first weekly spread.
Something else I am trying this month is a monthly stock page, a place to keep track of the little things you are doing daily like what your pinning, who you are following, and what you are eating. I am just planning to do some brief descriptions nothing in too much detail. Pictured below is my monthly stock page as well as my first weekly spread of my new Bullet Journal. 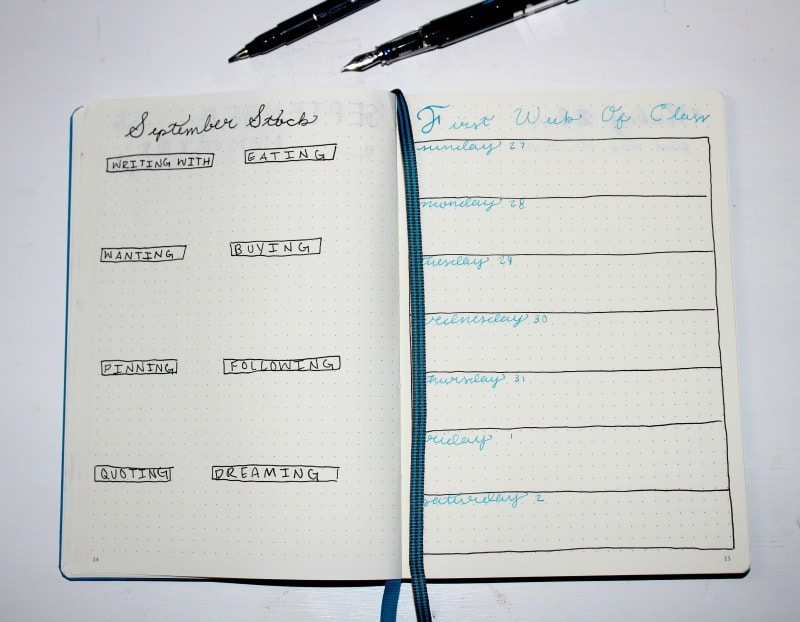
That's it you have successfully moved into your new Bullet Journal what a relief. Happy Planning! Drop a comment below if you have any questions or want to share how you move in to a new Bullet Journal.
These are the supplies I used to move in to my new Bullet Journal. These contain affiliated links.
0 Comments
Leave a Reply. |
